Hi all .. Today we ll see how to use nginx to serve static files .
what is Nginx?
Niginx is a high performence web server software. Its more flexible and lightweight than apache. Niginx is a reverse proxy protocol.
wait a minute.. what is meant by reverse proxy ?
lets say x- a client and y – a server
x->y
x sends request to server [this is direct proxy]
in reverse proxy
x sends request to server but request is sent to some internal proxy and that proxy passes request to server and sends response from server to the client. The client may not be aware of this.
In short, requests are not directly processed by server some intermediate guy will process requests and responses.
x->z->y [here z is that intermediate guy]
Got something ??
Lets see the installation of nginx
1. open Terminal (cntrl + alt +T)
2. sudo apt-get install nginx
Lets play with nginx now .
To play ,lets create one directory
mkdir /cache
cd /cache/
chmod 777 /cache/
lets create some dummy files in this directory
cat >>hi.txt
hi this is test file
this is line
cntrl + d [press contrl + d to save this file]
cat >> second.txt
this is my second file
this is testing second file
press contrl + d to save this file .
Now ,its time create a sample configuration file to server this directory.
Before we write ,its useful to know about two import directory in nginx
1. sites-enabled
cd /etc/nginx/sites-enabled/
This directory contains symlink files from sites-available directory
[we can create files here but don’t do that it’s not a good way to do]
2. sites-available
cd /etc/nginx/sites-available/
here all the config files are there for nginx
make sure your inside sites-available directory else
do cd /etc/nginx/sites-available/
touch sample.conf
open this sample.conf in your favorite editor and type the below code
server {
listen *:9000;
server_name _;
access_log /var/log/sample.access.log; # this line is optional for log purpose
error_log /var/log/sample.error.log; # this line is optional
location /test/ {
alias /cache/;
autoindex on;
expires off;
default_type application/octet-stream;
}
}
Lets see ,
listen *:9000 –> server listens to the port 9000
server name – is optinal [you can give your domain name like http://www.example.com,]
next two lines are to log who accesses files and error details
next loctaion /test/{
telling nginx -x to server this location
alias /cache/ —> /cache directory can be accessed using /test/
auto index on —> to list all the files inside directory [ not recommended ,because user will know all the files inside your directory ]
expires off [ this disables caching files ]
default_type application/octet-stream –> this sets ,whenever the user visits this page it serves the content of the file .[asks for open or download]. It never opens in browser
if you want to just view in browser not to download
just comment that last line which contains octet-stream
just save this file now
now lets create a symlink to sites-enable
It will be like this
sudo ln -s /etc/nginx/sites-available/sample.conf /etc/nginx/sites-enabled/
Note: Always use absolute path . don’t use relative path like this sudo ln -s sample.conf /etc/nginx/sites-enabled/ — this will not work . Always use absolute path
ok lets restart nginx server
sudo service nginx restart
open your favorite browser and visit localhost:9000/test/
you will see like this

click on the any file [ note i commented octet-stream]
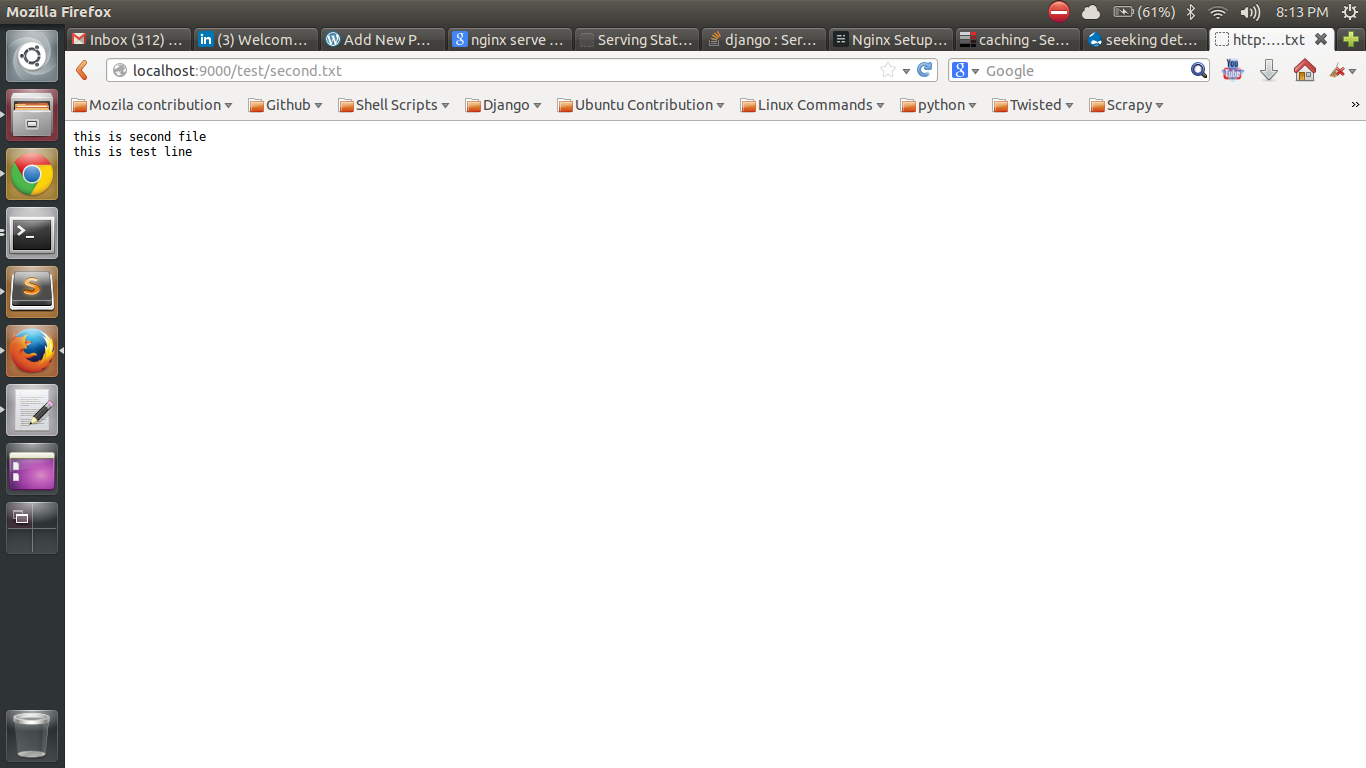
if you want file to be downloaded uncomment that last line . You browser will ask file to be opened or download
Thats it … Play with it .. Happy coding..:)

